

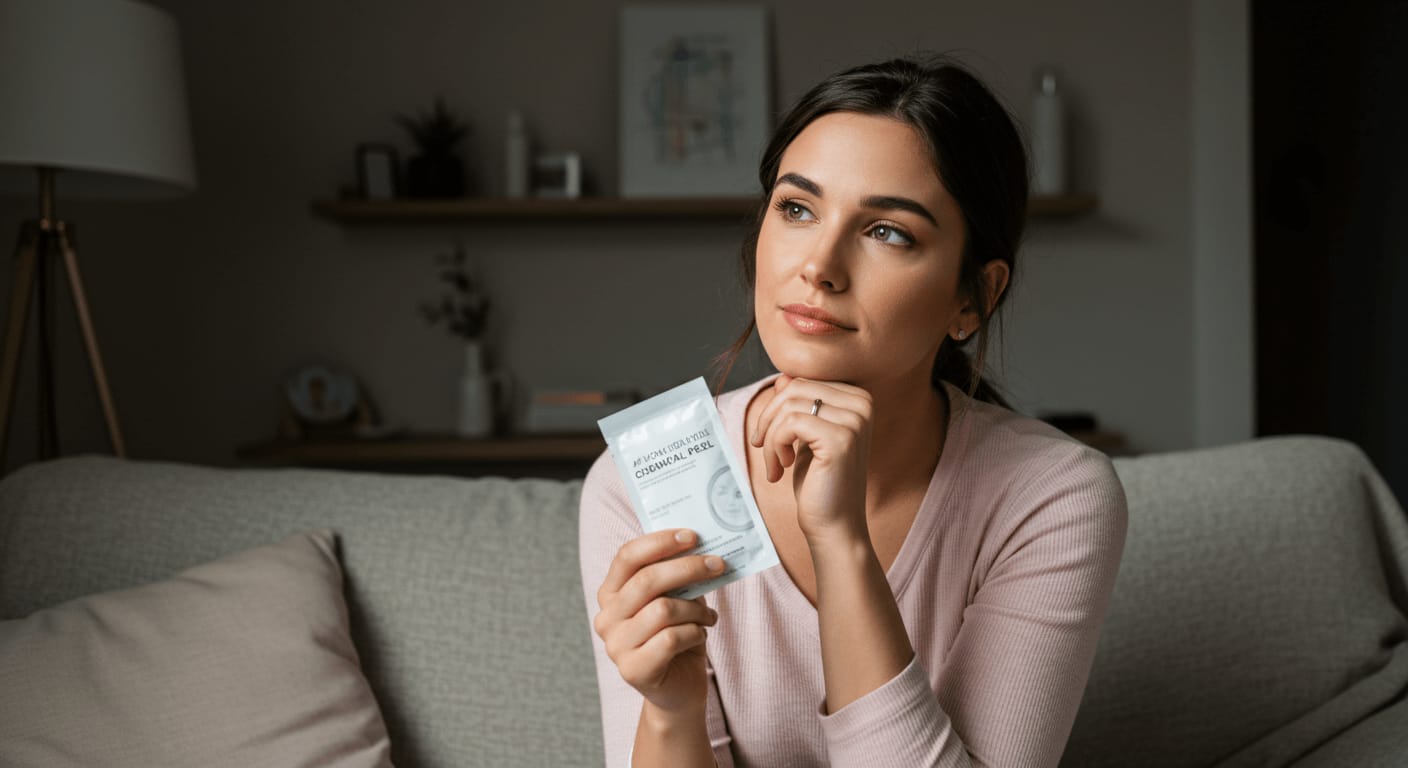
Skincare can be a transformative journey, and understanding at-home chemical peels is key to achieving that radiant glow you desire. In this guide, you’ll uncover how to safely perform chemical peels in the comfort of your own home, while also learning about potential risks and benefits associated with different peel types. Feel empowered to enhance your skincare routine and effectively address concerns like acne, pigmentation, and fine lines. Let’s dive in to help you make informed choices for your beautiful skin!
[This post contains Amazon affiliate links. Thank You So Much if you purchase through these links. I may earn a small commission but you don’t pay any extra.]
Table of Contents
Key Takeaways: The Complete Guide to At-Home Chemical Peels
- Types of Peels: There are three main types of chemical peels: superficial, medium, and deep, each designed for different skin concerns.
- Skin Evaluation: Conduct a thorough skin evaluation to determine which type of peel is suitable for your skin type and condition.
- Patch Test: Always perform a patch test before applying any chemical peel to avoid adverse reactions.
- Post-Peel Care: Follow proper post-peel care guidelines, including moisturizing and protecting the skin from sun exposure.
- Frequency: Chemical peels should be done with caution; spacing out treatments helps prevent skin damage.
- Ingredients Matter: Pay attention to the ingredients in the peel solution, as different acids target various skin issues.
- Professional Guidance: Consider consulting a dermatologist for personalized advice, especially if you have sensitive skin or pre-existing conditions.
Understanding Chemical Peels
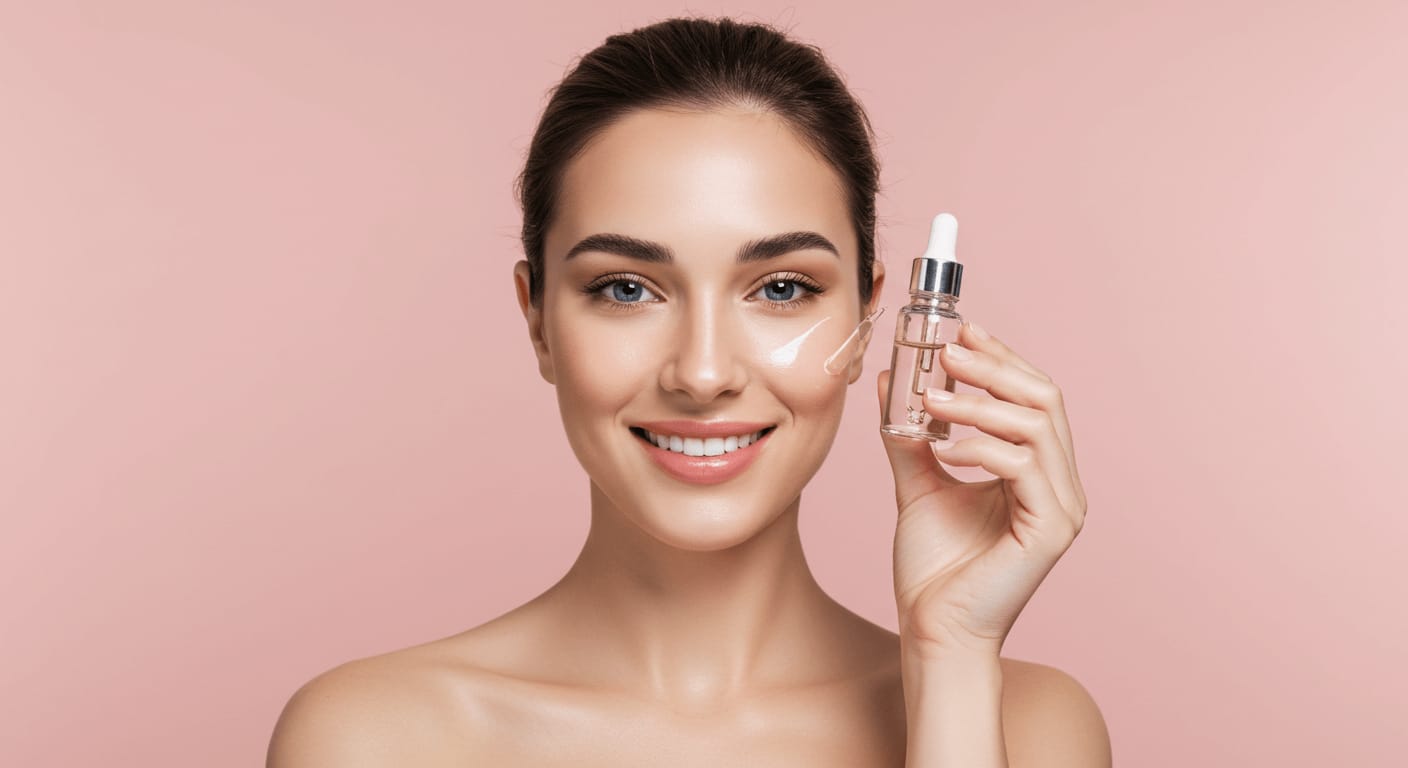
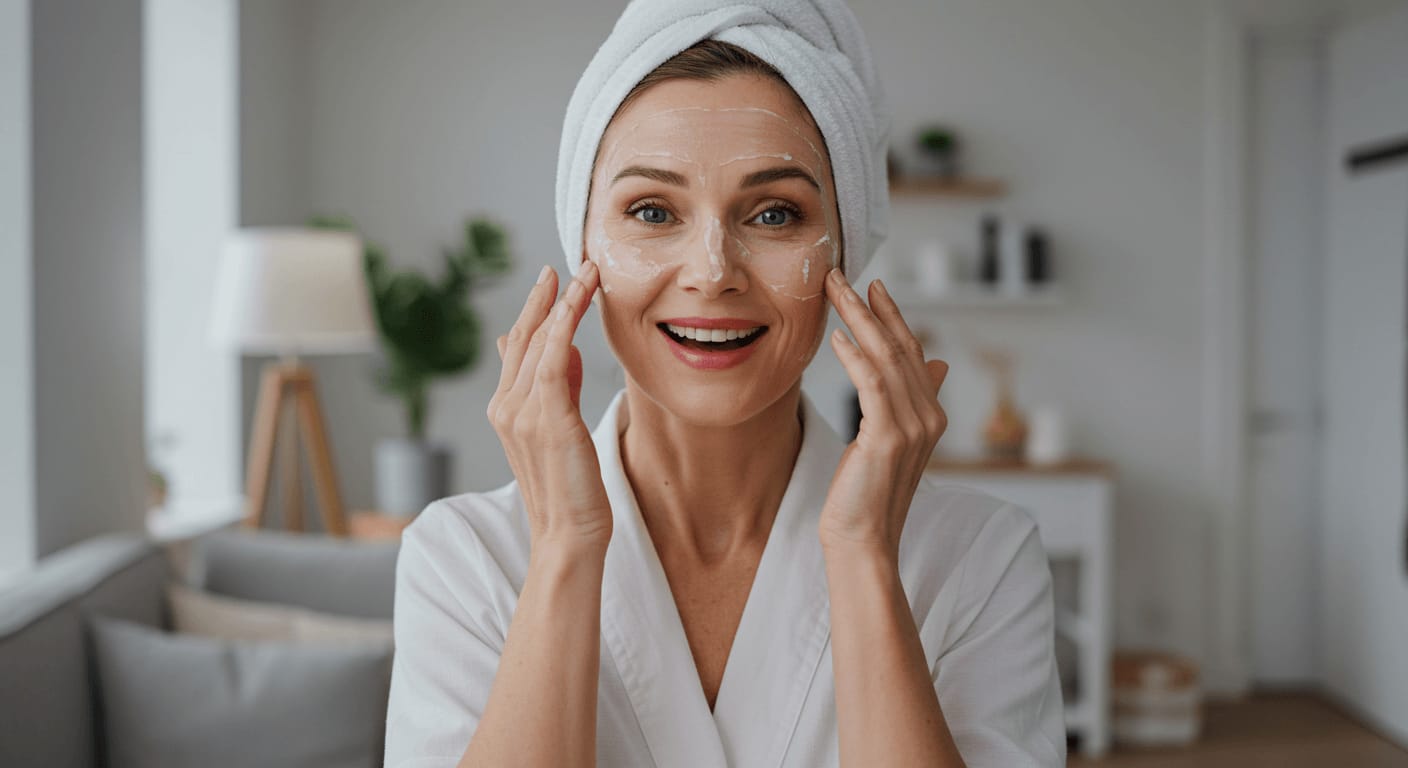
Your skin is your canvas, and achieving that radiant glow might just be a peel away! With respect to skin rejuvenation, chemical peels have become a popular at-home option for those seeking to improve their complexion. These treatments work by applying a solution that exfoliates and eventually sloughs off the damaged outer layers of skin, revealing a fresher, smoother layer underneath. They can help reduce the appearance of fine lines, acne scars, and hyperpigmentation, making them a go-to for many skincare enthusiasts.
What Are Chemical Peels?
Any time you hear the term “chemical peel,” think of it as a powerful way to rejuvenate your skin’s surface. The treatment utilizes various acids or chemical solutions to deeply exfoliate the skin, promoting cell turnover and encouraging a brighter, more youthful appearance. Depending on the strength of the peel, the results can range from mild exfoliation to significant skin improvements, making it vital to choose the right type for your specific needs.
Types of Chemical Peels
Some chemical peels are light and gentle, while others pack a more robust punch. The common types typically include:
- Superficial peels – Use mild acids like glycolic acid.
- Medium peels – Use trichloroacetic acid (TCA) for deeper exfoliation.
- Deep peels – Utilize phenol for significant skin changes.
- At-home peels – Formulated for safety and ease of use.
- Professional peels – Administered by dermatologists for medical-grade results.
This variety provides flexibility in choosing the right treatment based on your skin type and desired outcome. It’s always wise to start slow, especially if you’re new to chemical peels.
| Type of Peel | Considerations |
|---|---|
| Superficial Peels | Great for first-timers; minimal downtime. |
| Medium Peels | More effective for wrinkles and discoloration. |
| Deep Peels | Significant results; longer recovery time. |
| At-home Options | Safe, but results may vary. |
| Professional Treatments | Stronger formulas; usually require downtime. |
Chemical peels can be an incredible addition to your skincare routine, offering various benefits tailored to address your specific skin concerns. The type of peel you choose can greatly influence your results, whether it’s for tackling acne, boosting your radiance, or reducing signs of aging. Informed decisions about your peel will lead to safer and more effective outcomes, ultimately helping you achieve the smooth, glowing skin you desire.
- Skin rejuvenation – Promotes cell turnover.
- Exfoliation – Removes dead skin layers.
- Anti-aging – Minimizes fine lines and wrinkles.
- Hyperpigmentation – Reduces dark spots.
- Convenient – At-home options available.
This path to beautifying your skin is filled with choices that allow you to select a peel that fits your lifestyle and skin goals!
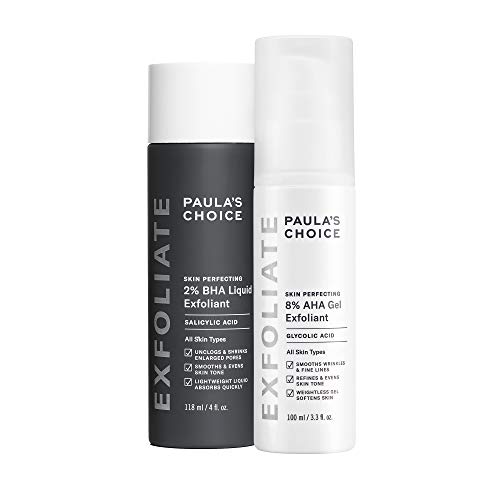
- EXFOLIANT DUO: Elevate your exfoliation routine with this convenient set. Includes both BHA (salicylic acid) and AHA (gl…
- BRIGHTEN & SMOOTH: Paula’s Choice 2% BHA Liquid Exfoliant helps unclog & diminish enlarged pores, exfoliate built-up dea…
- REFINE & EVEN: Paula’s Choice 8% AHA Gel Exfoliant with Glycolic Acid, Chamomile, and Green Tea can help minimize the lo…


- GENTLE NON-ABRASIVE LEAVE-ON EXFOLIANT: With 2% BHA (Beta hydroxy acid), to unclog & diminish enlarged pores, exfoliate …
- Dramatically improves skin’s texture for radiant youthful even-toned skin. Beta hydroxy acid (BHA, also known as salicyl…
- HYDRATE, BRIGHTEN & SMOOTH FINE LINES: Our unique, non-abrasive, leave-on exfoliant is gentle enough for daily use on al…

- ANTI-AGING IN 10 MINUTES: Dramatically resurface skin while fighting signs of aging with this powerful exfoliating facia…
- CONCENTRATED 25% AHA BLEND & 2% BHA: Alpha hydroxy acid blend smooths wrinkles & refines rough bumpy texture while salic…
- PROVEN RESULTS: Based on a consumer self-assessment, 98% agreed skin felt soft and smooth after use & 91% agreed skin lo…
Pros and Cons of At-Home Chemical Peels
Clearly, at-home chemical peels present a range of benefits and some notable drawbacks. Understanding these will help you make an informed decision about whether they are right for you. Below is a breakdown of the pros and cons associated with these treatments, so you can weigh your options wisely.
| Pros | Cons |
|---|---|
| Convenient and can be done at home | Potential for skin irritation or burns |
| Cost-effective compared to professional peels | Limited strength of active ingredients |
| Variety of formulations available for different skin types | Higher risk of improper application |
| Ability to control the frequency of treatments | Requires research and caution for safety |
| Can address a variety of skin issues | Results may be less dramatic than professional treatments |
Benefits You’ll Love
There’s a lot to love about at-home chemical peels. For starters, they offer the convenience of being able to treat your skin on your own schedule, which can save you a considerable amount of time compared to visiting a dermatologist or spa. You have complete control over when and how often you utilize these peels, making it easier to integrate them into your regular skincare routine. Additionally, at-home peels are often more affordable, allowing you to achieve improved skin without breaking the bank.
There’s also a wonderful variety of products on the market designed for various skin types and concerns. Whether you’re looking to combat acne, hyperpigmentation, or simply achieve a brighter, more youthful complexion, there’s likely an at-home peel that fits your needs. Many of these products contain gentle acids that can effectively exfoliate your skin and promote a smoother texture, giving you the confidence boost you may be seeking.
Potential Drawbacks to Consider
For all their benefits, at-home chemical peels do come with potential drawbacks that you should keep in mind. One of the main concerns is the risk of skin irritation or burns due to improper application or choosing a product that’s too strong for your skin type. Unlike professional peels, which are administered by trained experts, you must take on the responsibility of using these products safely and effectively.
Another point to consider is that while at-home peels are effective, their results may not be as dramatic as those you would receive from a professional treatment. This is due in part to the lower concentration of active ingredients found in many at-home products compared to those used by professional dermatologists. Furthermore, you might find yourself needing to perform treatments more frequently to maintain your desired results, which can lead to over-exfoliation if you’re not careful. Always listen to your skin and proceed with caution to enjoy the full benefits of these treatments.
Important Factors to Consider
Unlike a simple skincare routine, at-home chemical peels require careful consideration of various aspects to ensure safety and effectiveness. It’s important to evaluate your personal situation before submerging into this skincare treatment. Here are some factors to keep in mind:
- Your skin type
- Your skin concerns
- The concentration of active ingredients
- The frequency of application
- Your commitment to aftercare
The decisions you make regarding these factors can significantly influence your results and overall skincare journey.
Skin Type and Concerns
Type reflects your unique skin type, whether it be oily, dry, sensitive, or combination. Understanding your skin’s characteristics is imperative for selecting the right peel. For instance, if you have oily skin, you might benefit from a peel that targets excess oil production, while those with sensitive skin may need to choose a gentler formula. Additionally, it’s imperative to consider your specific skin concerns, such as acne scars, fine lines, or pigmentation. Tailoring your approach to address these factors will help you achieve the best results tailored for your skin.
Timing and Frequency
Little thought should go into when and how often you decide to apply a chemical peel. It’s wise to adhere to recommended guidelines to prevent any over-exfoliation, which can lead to irritation or damage. Generally, most at-home peels are effective when used every two weeks; however, this can vary based on the strength of the peel and your skin’s response. Timing can also depend on your overall skincare routine and any upcoming events, so plan accordingly to ensure your skin looks its best.
Consider the timing and frequency of your at-home chemical peel as it directly influences your skin’s health. Knowing your skin’s tolerance to various active ingredients can help guide you in establishing a safe schedule for treatment. It’s important to space out peels sufficiently and allow your skin time to heal, as over-use can lead to adverse effects like redness, peeling, or even stronger reactions. The more you educate yourself on your skin’s specific needs, the more successful your chemical peel experience will be.
- EXFOLIANT DUO: Elevate your exfoliation routine with this convenient set. Includes both BHA (salicylic acid) and AHA (gl…
- BRIGHTEN & SMOOTH: Paula’s Choice 2% BHA Liquid Exfoliant helps unclog & diminish enlarged pores, exfoliate built-up dea…
- REFINE & EVEN: Paula’s Choice 8% AHA Gel Exfoliant with Glycolic Acid, Chamomile, and Green Tea can help minimize the lo…
- GENTLE NON-ABRASIVE LEAVE-ON EXFOLIANT: With 2% BHA (Beta hydroxy acid), to unclog & diminish enlarged pores, exfoliate …
- Dramatically improves skin’s texture for radiant youthful even-toned skin. Beta hydroxy acid (BHA, also known as salicyl…
- HYDRATE, BRIGHTEN & SMOOTH FINE LINES: Our unique, non-abrasive, leave-on exfoliant is gentle enough for daily use on al…
- ANTI-AGING IN 10 MINUTES: Dramatically resurface skin while fighting signs of aging with this powerful exfoliating facia…
- CONCENTRATED 25% AHA BLEND & 2% BHA: Alpha hydroxy acid blend smooths wrinkles & refines rough bumpy texture while salic…
- PROVEN RESULTS: Based on a consumer self-assessment, 98% agreed skin felt soft and smooth after use & 91% agreed skin lo…
Tips for a Successful At-Home Chemical Peel
Once again, you may be feeling excited to launch on your at-home chemical peel journey. To ensure that you achieve the best possible results, keep these important tips in mind:
- Always perform a patch test 48 hours before applying the peel to your entire face.
- Follow instructions carefully to prevent any adverse reactions.
- Consider your skin type; some people may be more sensitive to certain acids.
- Stay consistent—repeat peels at recommended intervals for gradual improvements.
- Maintain a proper skin care regimen post-peel for optimal results.
Knowing these tips can significantly enhance your at-home chemical peel experience and lead to your desired skin transformation.
Preparation is Key
Even before you apply the peel, a little preparation can go a long way. Start by making sure your skin is in the best condition possible. Wash your face thoroughly to eliminate any dirt, oil, or makeup that could hinder the effectiveness of the peel. If you’ve recently used any strong products like retinoids or exfoliants, give your skin a break for a few days to avoid over-exfoliation.
Create the right atmosphere for your peel. Set up a comfortable space where you can relax without interruptions during the application. Gather all your materials—including the peel, measuring utensils, and any soothing agents you plan to use afterward. Taking the time to properly prepare will ensure that your at-home chemical peel is as effective as it can be.
Aftercare Essentials
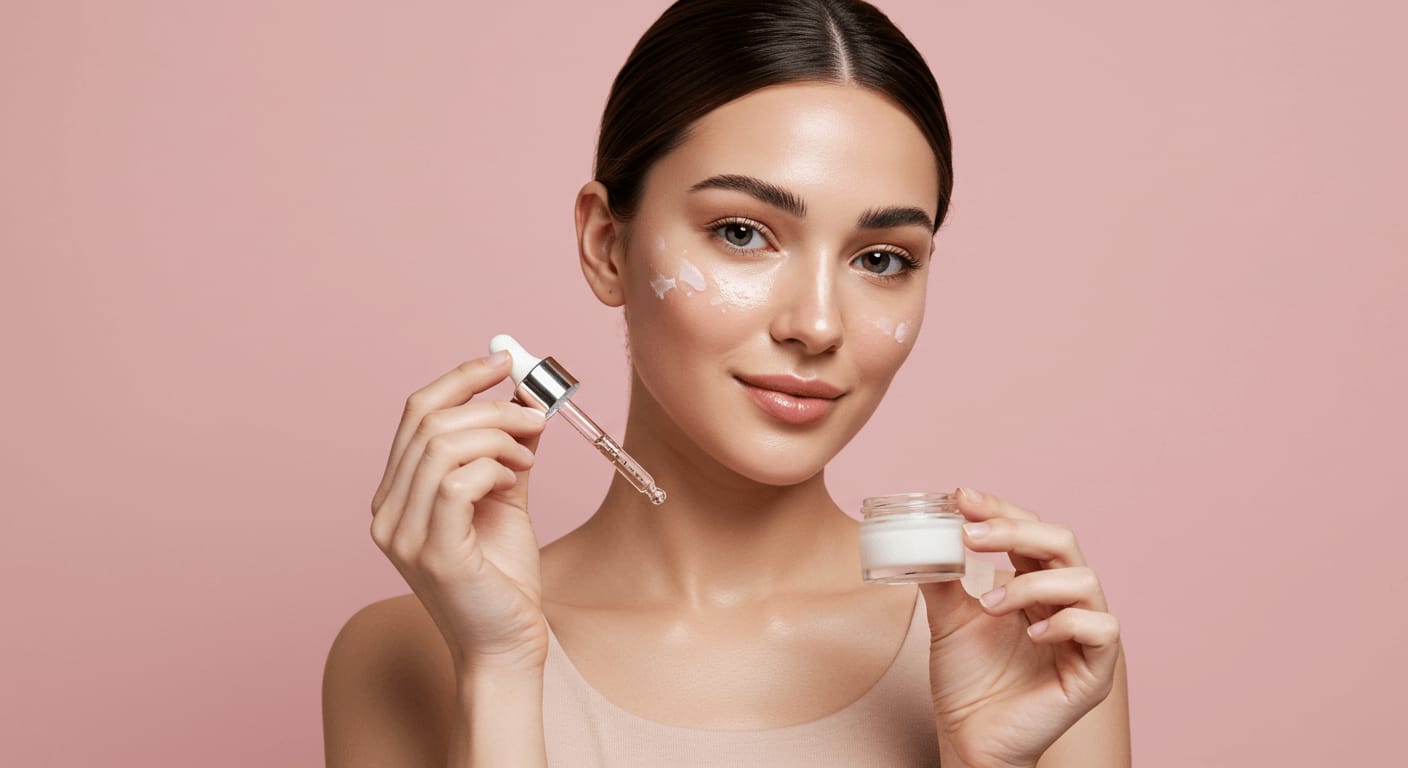
Assuming you’ve completed your chemical peel, the next step is paying attention to your skin’s aftercare. After the peel, your skin may feel sensitive, and it’s crucial to hydrate and protect it. Apply a gentle moisturizer to soothe your skin and help it recover. Avoid harsh products, including scrubs or heavy makeup, for at least a week following your peel.
AtHome care is vital for maintaining the results you’ve worked hard to achieve. Always use a sunscreen with a high SPF when going outdoors, as your skin will be more susceptible to UV rays. Staying hydrated and incorporating a calming serum can help bolster your skin’s resilience post-peel. The goal is to nurture your new skin so it can reveal its beautiful potential without any undue stress or irritation.
Step-by-Step Guide to Performing a Chemical Peel
Now that you’re excited about giving yourself an at-home chemical peel, it’s time to probe the process. Before you begin, make sure you have everything you need, and follow each step carefully for a safe and effective experience. Here’s how to get started:
| Step | Description |
| 1. Gather Your Supplies | Collect necessary products and tools for your peel. |
| 2. Prepare Your Skin | Cleanse and exfoliate your skin to remove impurities. |
| 3. Apply the Peel | Use a brush or cotton pad to evenly apply the chemical solution. |
| 4. Wait and Rinse | Allow the peel to sit for the recommended time before rinsing. |
| 5. Aftercare | Moisturize and protect your skin post-peel. |
Gathering Your Supplies
Some of the key supplies you’ll need for your chemical peel include a facial cleanser, the chemical peel solution itself, a brush or cotton rounds for application, and a gentle moisturizer. Additionally, having a timer on hand will help you keep track of the processing time, and wearing gloves can protect your hands from irritation. Opt for products that are specifically designated for at-home use to ensure safety and effectiveness.
Also, consider having some soothing products such as aloe vera gel or a calming serum ready, as your skin might feel sensitive after the peel. Setting up your space in a clean, well-lit area will make the process smoother and more enjoyable. Aim to create a calm and relaxing environment to help you unwind while you take care of your skin!
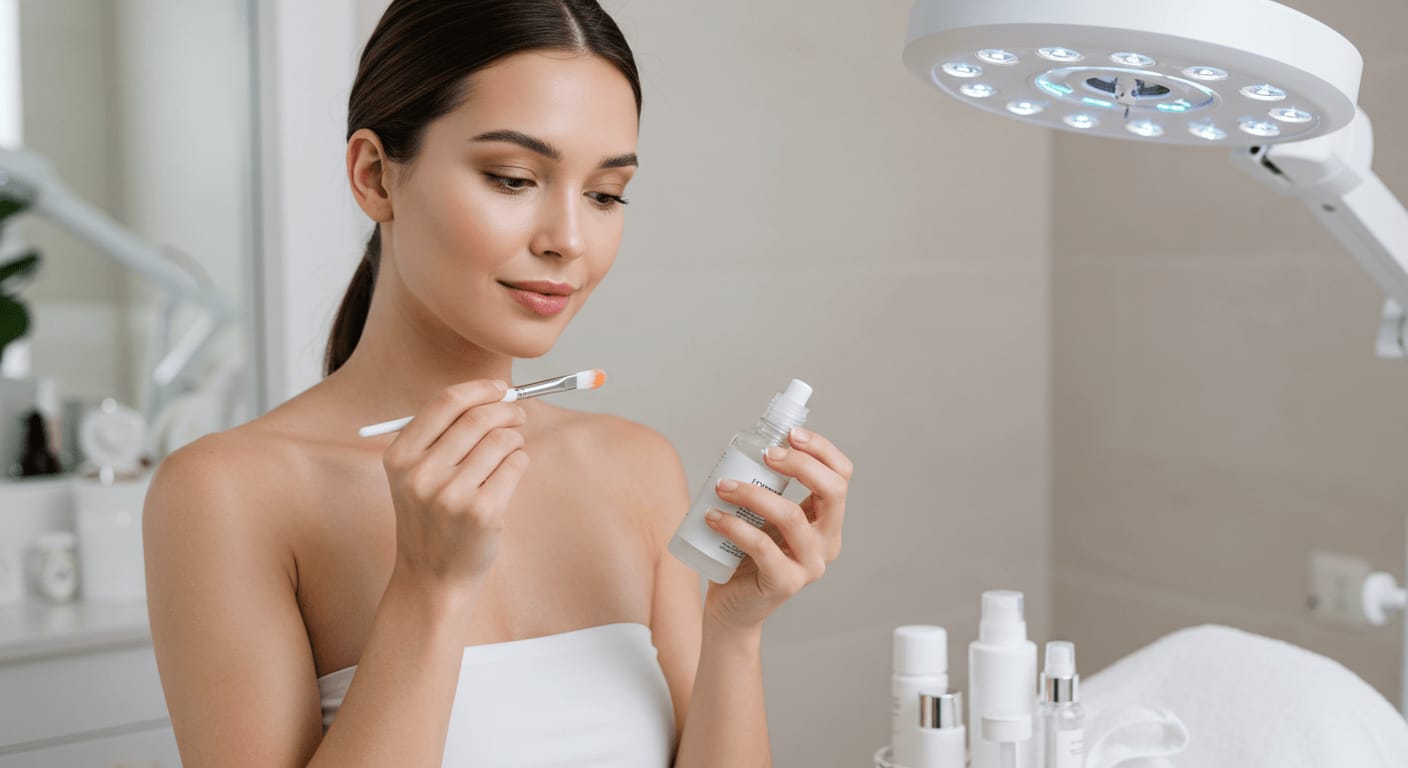
The Application Process
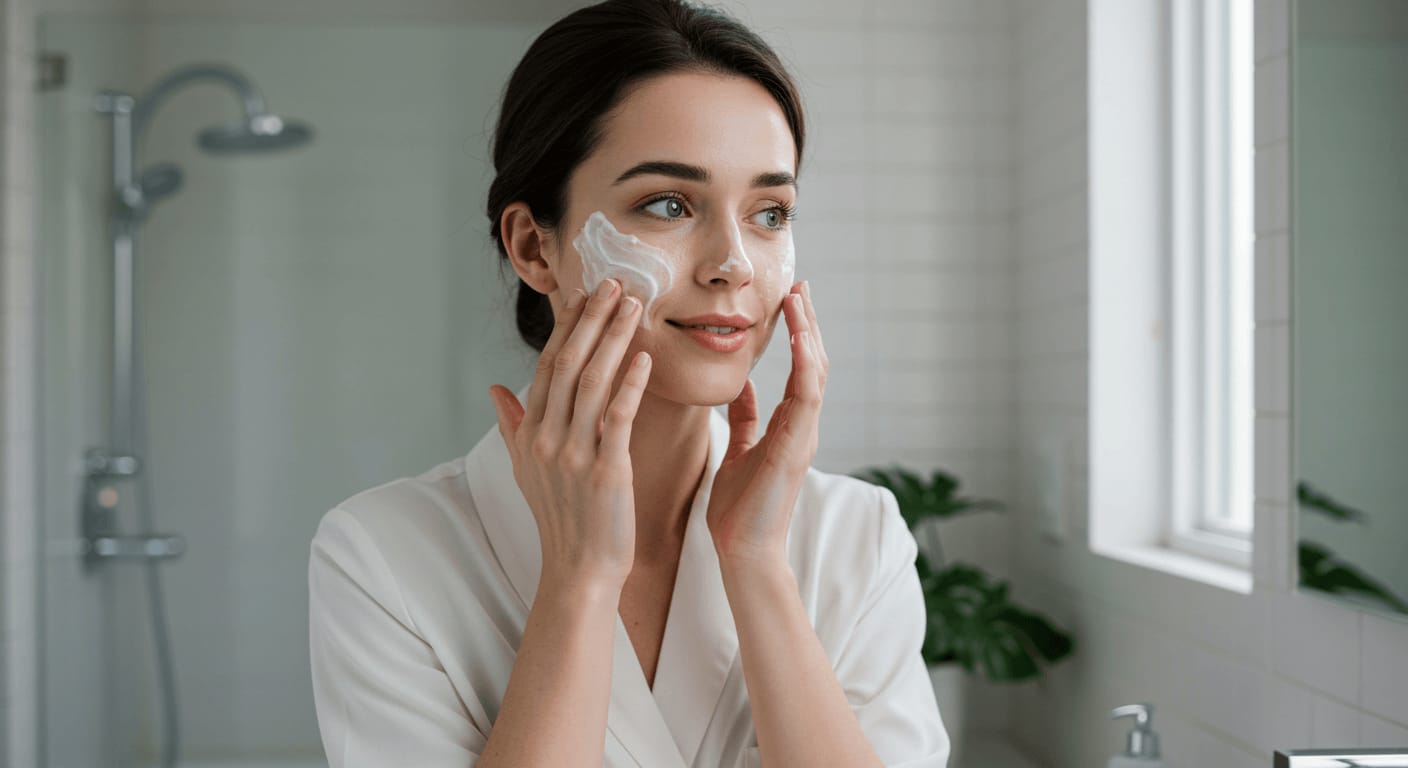
Even with the best intentions, the application process is where a lot of people might feel intimidated. To start, cleanse your face thoroughly using a gentle cleanser, and pat your skin dry. Once your skin is prepped, carefully apply the peel solution using your brush or cotton pad, being cautious to avoid your eyes and mouth. Follow the instructions on your specific product regarding how long to leave the peel on your skin—this can vary considerably depending on the strength of the solution.
Chemical peels can vary in type and strength, so it’s important to know what to expect. For example, a light peel may create minimal tingling sensations, while deeper peels might result in a noticeable warm feeling. Be aware that if you experience any severe burning or discomfort, it’s important to rinse the peel off immediately with cool water. Always stay true to the instructions on your product and uphold safety throughout the procedure. After rinsing, you’ll be ready to follow with your aftercare routine for the best results!
Common Mistakes to Avoid
All too often, at-home chemical peel enthusiasts encounter setbacks that can lead to unsatisfactory results or even skin damage. One of the biggest pitfalls is applying the peel for longer than recommended. Overdoing it might seem like a quick fix for stubborn skin concerns, but it can lead to redness, irritation, and peeling that you didn’t anticipate. Additionally, skipping the important patch test can be a recipe for disaster. Not all skin reacts the same way, and without testing a small area first, you might find yourself facing an unexpected adverse reaction.

Pitfalls for Beginners
There’s a tendency for beginners to underestimate the power of the products they are using. A common mistake is layering multiple peels or trying different formulations in close succession, which can overwhelm your skin and create a negative response. It’s best to start slowly, giving your skin time to adjust and to monitor how it reacts between applications. Also, be careful with your skin type—what works for someone else may not be suitable for you. Always choose products designed specifically for your skin type to avoid aggravating pre-existing conditions.
How to Troubleshoot
For those times when things don’t go as planned, troubleshooting can save your skin and your confidence. If you notice excessive redness or irritation after your peel, applying a gentle moisturizer that contains soothing ingredients like aloe vera or chamomile can help calm your skin. Avoid using products with strong active ingredients until your skin has returned to its normal state. Also, remember that sun protection is absolutely crucial following a peel, as your skin is particularly vulnerable to damage.
Common issues can often arise post-peel, especially if you experience peeling that seems excessive or lasts longer than expected. If you are too dry, consider introducing a hydrating serum into your routine that is rich in hyaluronic acid, as this can help restore moisture levels. If you find that your skin is reacting more severely than expected, it’s wise to consult with a skincare professional for tailored advice, ensuring that the goal of achieving glowing, refreshed skin is still within reach.
Summing up
With these considerations in mind, you can confidently commence on your journey into the world of at-home chemical peels. It’s all about understanding your skin type, choosing the right products, and following the application procedures closely. By doing your research and taking the necessary precautions, you can achieve glowing, rejuvenated skin from the comfort of your own home. Don’t hesitate to explore resources that provide more insights into chemical peels.
If you’re eager to enhance your skincare routine and learn more, check out The Complete Guide to Chemical Peels – Coastal Aesthetics. This comprehensive guide can help you make informed decisions that cater to your individual skincare needs, leading you to the radiant complexion you’ve always desired. Enjoy the process and embrace the transformation!
FAQ:
Q: What is an at-home chemical peel?
A: An at-home chemical peel is a skincare treatment that uses a solution of acids or other active ingredients to exfoliate the top layer of skin, promoting cell turnover and improving the appearance of the skin. These peels can help with issues like acne, uneven skin tone, fine lines, and texture, and are designed for safe use in a home setting.
Q: How do I choose the right chemical peel for my skin type?
A: Selecting the right chemical peel depends on your skin type and specific concerns. For sensitive skin, look for milder peels containing enzymes or low concentrations of alpha hydroxy acids (AHAs). If you have oily or acne-prone skin, a peel with beta hydroxy acids (BHAs) such as salicylic acid can be beneficial. Always conduct a patch test before applying a new product to ensure compatibility with your skin.
Q: How often should I perform an at-home chemical peel?
A: The frequency of at-home chemical peels can vary based on the type of peel and your skin’s response. Generally, mild peels can be done every two to four weeks, while stronger peels should be spaced out to allow the skin to fully recover, typically every six to eight weeks. It is important to refer to the specific product instructions and your personal skin tolerance.
Q: What should I do before and after a chemical peel?
A: Before a chemical peel, it is imperative to cleanse your skin thoroughly and avoid any treatments that may irritate the skin, such as retinoids or exfoliants. After the peel, keep your skin moisturized and protected from the sun to aid in healing. Follow any specific post-treatment care instructions provided with your chemical peel product.
Q: Are there any side effects or risks associated with at-home chemical peels?
A: While at-home chemical peels are generally safe when used correctly, they can cause side effects such as redness, peeling, dryness, and sensitivity. Overuse or using products that are too strong for your skin type can lead to more severe reactions, including burns or scarring. It is advisable to consult with a skincare professional if you are unsure about the process or have underlying skin conditions.


0 Comments