

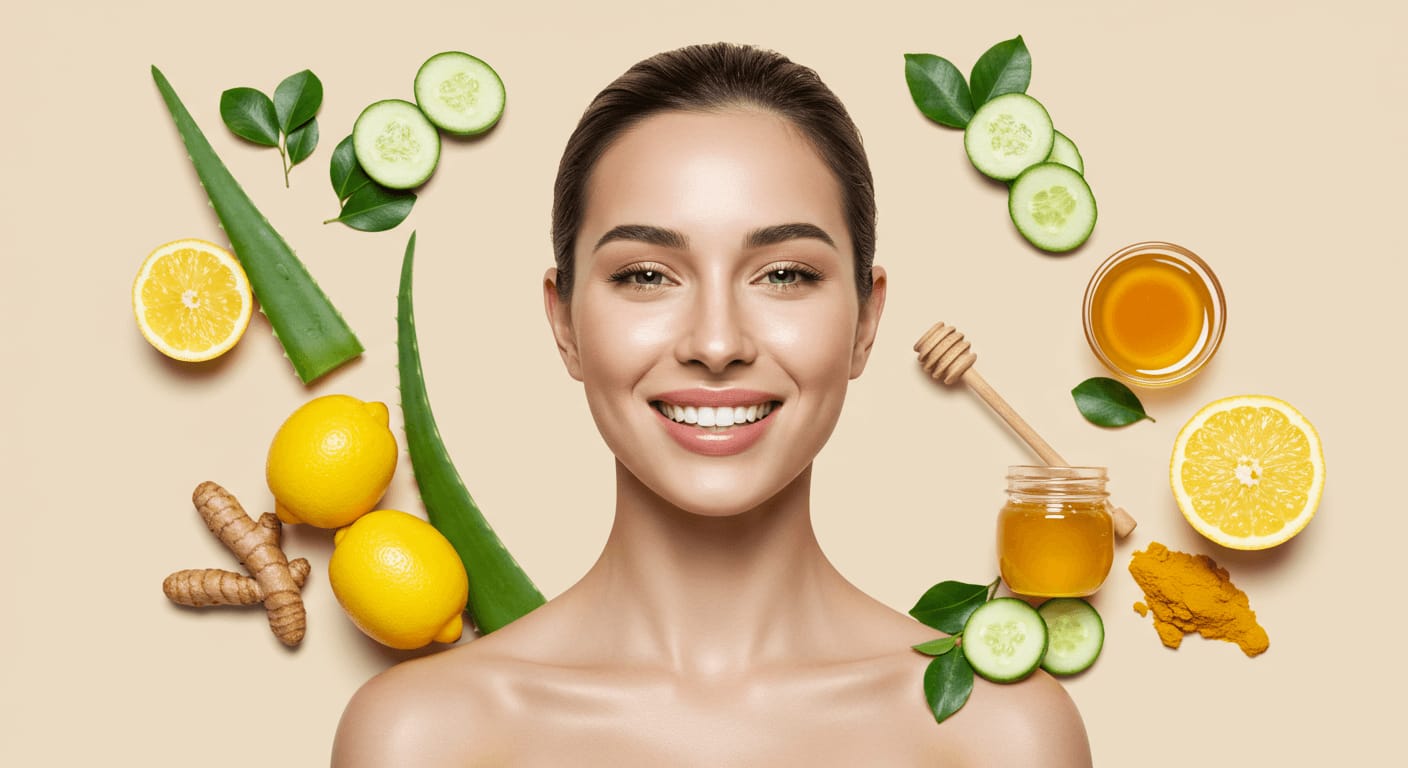
There’s no denying that your eyes can be your most captivating feature, and with the right makeup techniques, you can make them absolutely stand out. In this post, we’ll share 7 eye makeup hacks that will elevate your beauty routine and help you achieve stunning eyes in no time. Whether you’re a makeup novice or a seasoned pro, these simple tricks will enhance your natural beauty and boost your confidence!
Table of Contents
Key Takeaways: 6 Eye Makeup Hacks for Stunning Eyes in 2025
- Define Your Eyes: Use a high-quality eyeliner to shape and enhance your eye shape, creating a bolder look.
- Layer Your Mascara: Apply multiple coats of mascara for added volume and length, focusing on the tips of your lashes for a fluttery effect.
- Choose the Right Eyeshadow Colors: Select shades that complement your eye color to make them pop and draw attention.
- Use a Primer: Applying an eyeshadow primer can help your makeup last longer and intensify the color payoff.
- Highlight the Inner Corners: Applying a light shimmery shade to the inner corners of your eyes opens them up and adds a brightening effect.
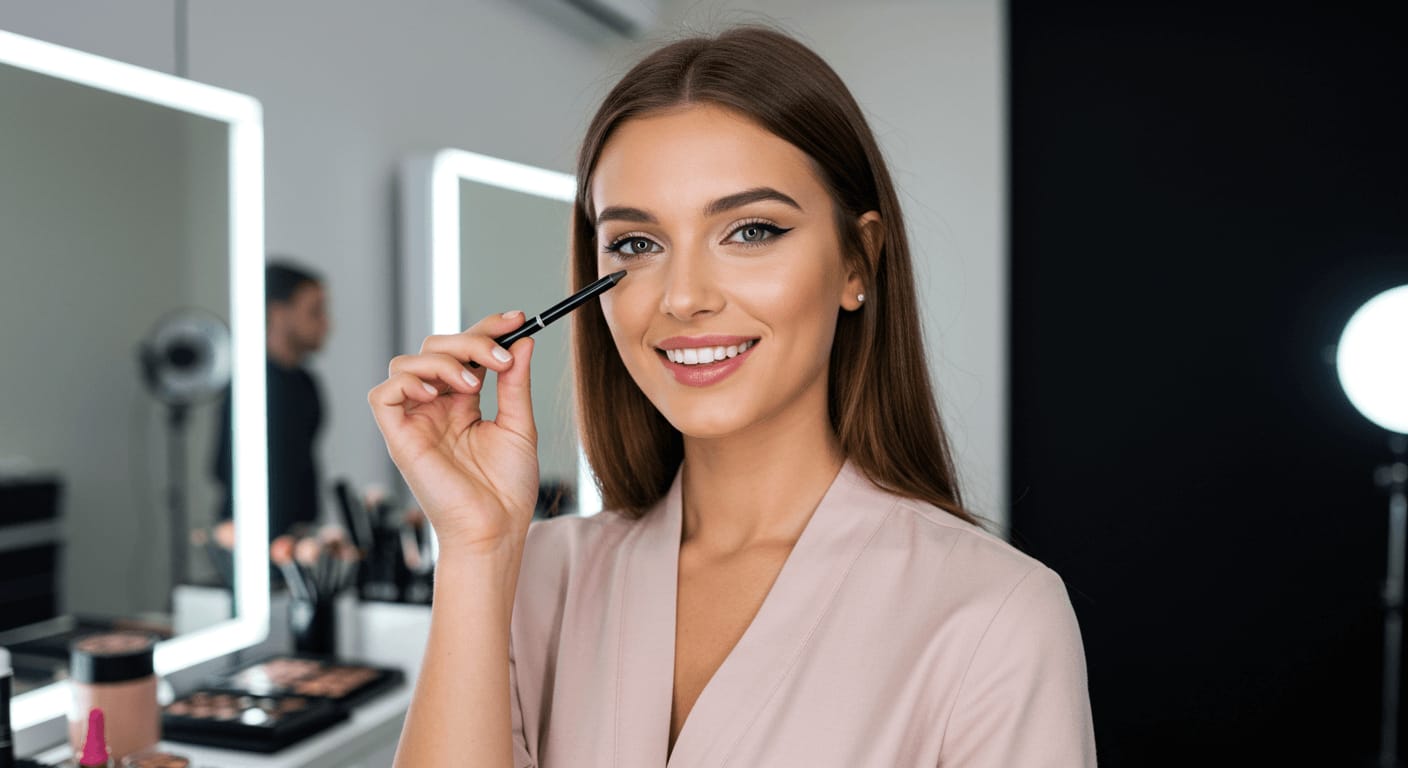
Hack #1: Perfecting Your Eyeliner
Perfecting Your Eyeliner – The Secret to Flawless, Defined Eyes
Eyeliner can instantly transform your eyes, making them appear bigger, more defined, and more expressive. But let’s be real—getting that perfect, smooth line can be tricky! Whether you’re going for a sharp wing, a soft smoky effect, or just a simple, natural enhancement, mastering eyeliner is all about technique and the right tools.
Choosing the Right Eyeliner for Your Look
✔ For Precise, Sharp Lines – Liquid or Gel Liner
Liquid and gel liners provide intense color and sharp precision, making them perfect for cat-eyes and dramatic looks.
➡ Pro Tip: Use an angled eyeliner brush for gel liner to get a steady, crisp wing.
✔ For a Soft, Everyday Look – Pencil Liner
A pencil liner is easy to blend and gives a natural, smudged effect, making it great for daily wear.
➡ Pro Tip: Choose a waterproof pencil to prevent smudging throughout the day.
✔ For Effortless Definition – Felt Tip Pen Liner
Felt-tip liners offer the control of a pencil with the boldness of liquid liner, making them great for beginners.
➡ Pro Tip: Use small dashes along your lash line and connect them for a smoother, controlled application.
How to Apply Eyeliner Like a Pro
✅ Start with a Sharp Tip: A well-sharpened pencil or a fine-tipped liquid liner gives you better control and a cleaner application.
✅ Use Small Strokes: Instead of trying to draw one long line, use short, connected strokes for more precision.
✅ Perfect the Winged Liner: For an uplifting effect, extend a small flick at the outer corners of your eyes. A piece of tape or a business card can help guide your wing!
✅ Set It with Eyeshadow: To prevent smudging, dab a matching eyeshadow over your liner with a small brush.
✅ Clean Up for Sharp Edges: Use a cotton swab dipped in micellar water to fix any mistakes and sharpen the edges.
Eyeliner Hacks for Every Eye Shape
✨ Hooded Eyes? Keep the liner thin on the inner corner and make the wing slightly extended outward for a lifted look.
✨ Round Eyes? A thicker line on the outer corner helps elongate the eyes for a more almond shape.
✨ Monolid Eyes? A bold, thicker wing makes your eyeliner more visible when your eyes are open.
With the right eyeliner and a few pro tips, you can effortlessly enhance your eyes and create a look that suits your style—from subtle and natural to bold and dramatic. So grab your liner and get ready to slay your eye makeup game in 2025! 🔥✨
Hack #2: The Power of a Good Primer
The Power of a Good Primer – Your Secret to Long-Lasting Eye Makeup
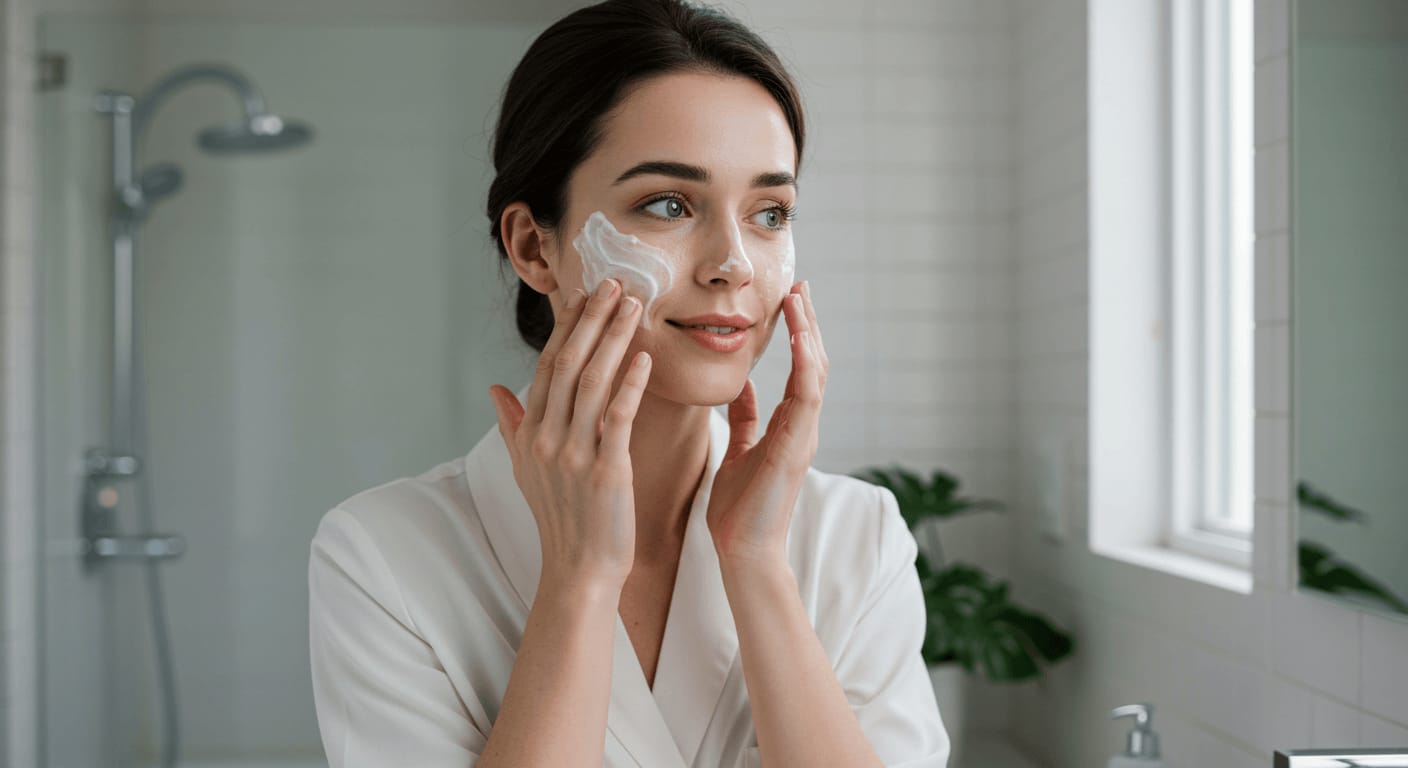
Ever spent time perfecting your eye makeup, only to have it crease, fade, or smudge halfway through the day? That’s where a good eye primer comes in! This game-changing step ensures your eyeshadow stays vibrant, smooth, and locked in place all day long—no more patchy colors or messy creases.
Why Eye Primer is a Must-Have
✔ Keeps Eyeshadow in Place: A good primer acts as a grip for your makeup, preventing it from sliding or disappearing throughout the day.
✔ Enhances Color Payoff: Your eyeshadows look more pigmented and blend effortlessly when applied over a primed lid.
✔ Prevents Creasing & Smudging: No more oily eyelids ruining your look—primer keeps everything smooth and fresh.
✔ Creates a Smooth Base: Helps even out skin texture, covering veins or discoloration for a flawless eyeshadow application.
How to Pick the Right Primer for Your Skin Type
✔ Oily Eyelids? Choose a matte, oil-controlling formula to keep your eyeshadow from slipping or fading.
✔ Dry Eyelids? A hydrating primer will create a smooth, even base and prevent makeup from looking flaky.
✔ Want Extra Brightness? Some primers come with a color-correcting tint to neutralize redness or dark tones on the lids.
How to Apply Eye Primer Like a Pro
✅ Start with a Tiny Amount: A little goes a long way! Use just a pea-sized drop for both lids.
✅ Blend with Your Fingertip or a Brush: Gently pat it in until it melts into the skin—don’t rub too hard!
✅ Let it Set for a Few Seconds: This helps lock in the formula before layering on eyeshadow.
✅ Pair with a Setting Powder (Optional): If you have extra oily lids, dust a light layer of translucent powder over your primer before applying shadow.
Pro Tip: Use Primer for More Than Just Eyeshadow!
✨ Want long-lasting eyeliner? Dab a bit of primer along your lash line before applying eyeliner—it’ll prevent smudging!
✨ Have uneven brows? Apply primer to your brows before filling them in for better grip and longevity.
✨ Need to cover dark under-eyes? Some primers double as an under-eye brightener, keeping your concealer from creasing.
Adding eye primer to your routine is the easiest way to elevate your makeup game and keep your eye look flawless from morning to night. Once you start using it, you’ll wonder how you ever lived without it! 😉✨
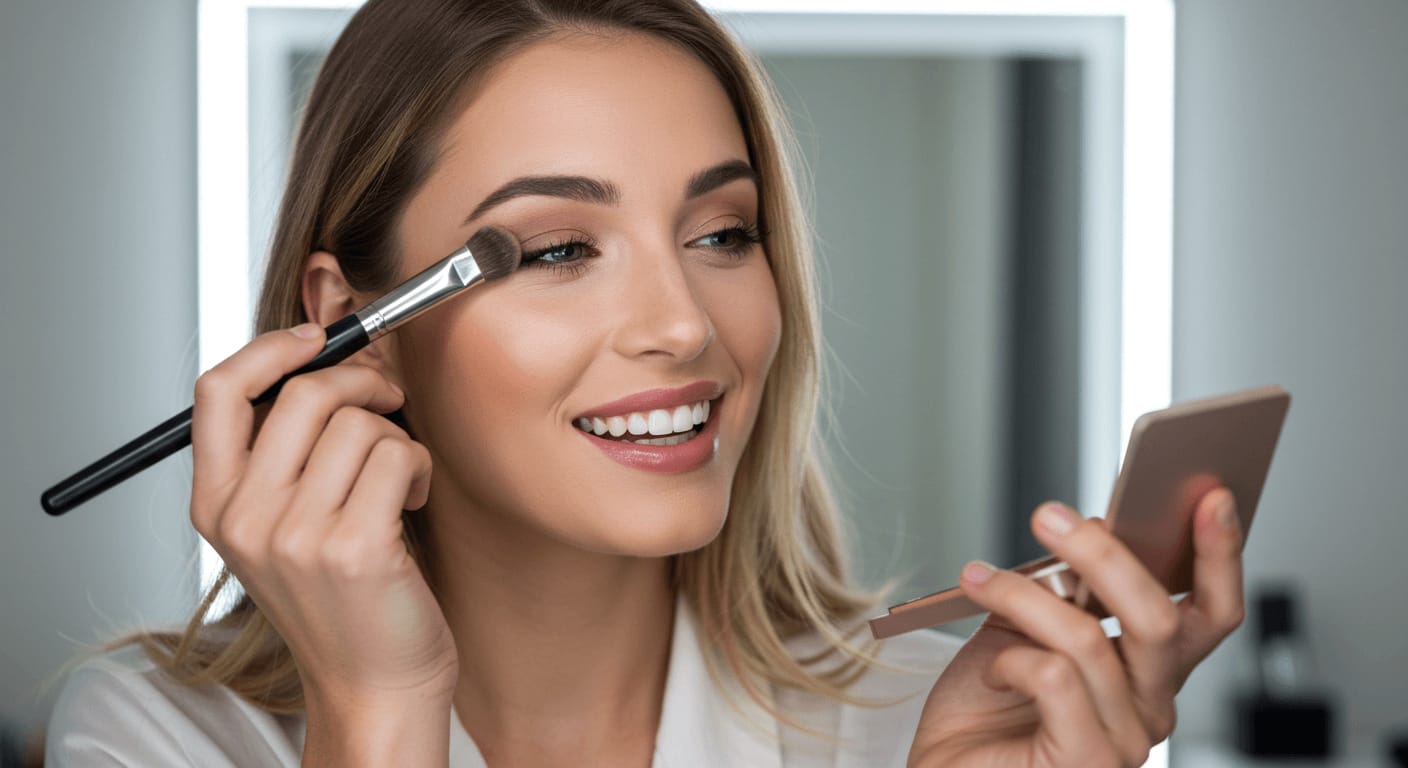
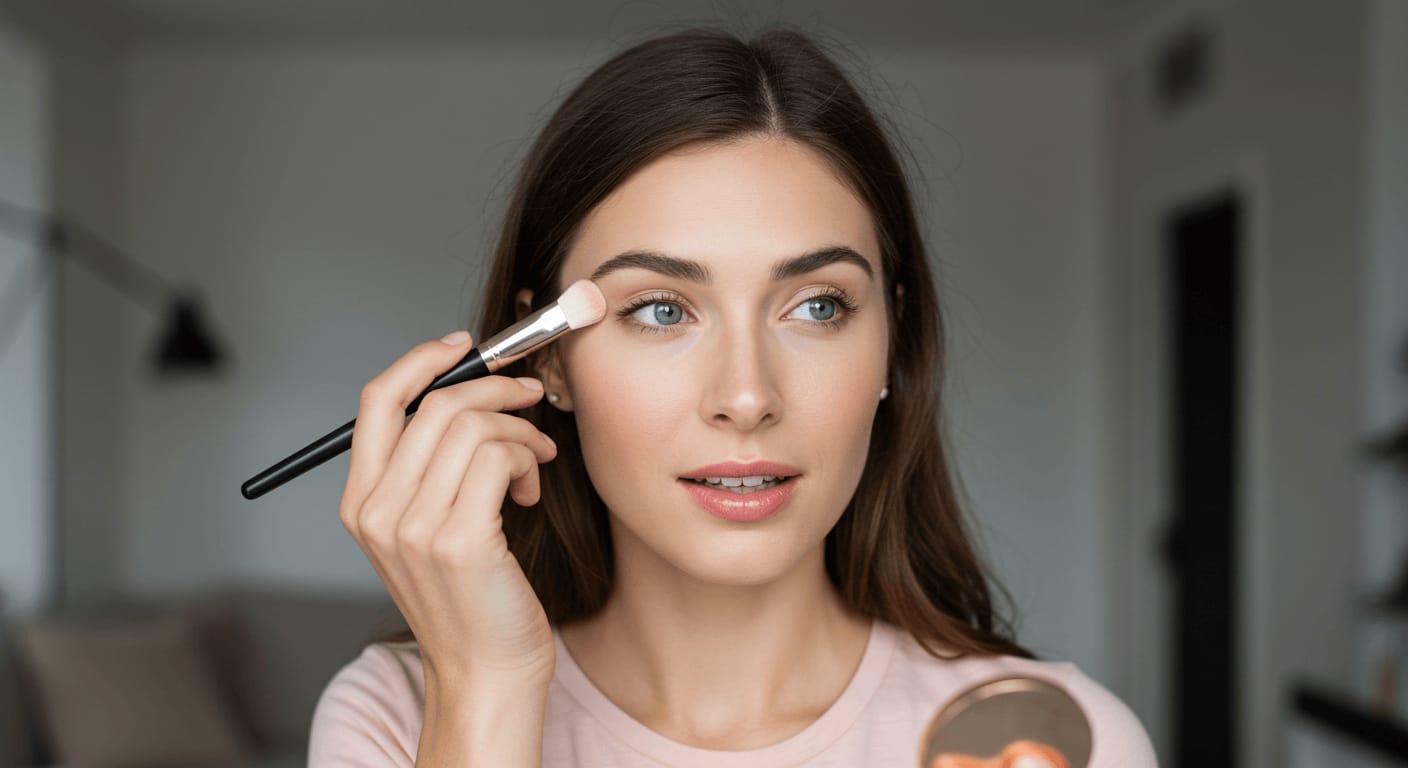
Hack #3: Eyeshadow Blending Secrets
Eyeshadow Blending Secrets – Master the Art of Seamless Eye Makeup
Blending your eyeshadow the right way can take your makeup from basic to breathtaking in just a few strokes! The difference between a flawless, pro-level eye look and a patchy mess? Technique, layering, and the right tools. Whether you love a natural, soft glam or a bold, smokey eye, mastering blending is the key to making your eyeshadow look effortlessly polished.
Step 1: Start with a Transition Shade
✔ Why it’s important: A transition shade helps create a smooth gradient between colors, making everything look more natural.
✔ How to do it: Choose a matte shade slightly darker than your skin tone and apply it in the crease of your eyelid using a fluffy blending brush.
✔ Blending technique: Use a windshield wiper motion—back and forth—to diffuse the color without harsh lines.
Step 2: Build Color with Layers
✔ Start light, then go darker: Apply lighter shades first and slowly deepen the look by layering darker shades.
✔ Blend as you go: After adding each color, blend it out before applying the next to avoid a muddy effect.
✔ Use a clean brush: If a shade looks too intense, buff it out with a clean blending brush to soften the edges.
Step 3: Use the Right Brushes
🖌 Fluffy Blending Brush – Perfect for softly diffusing shadows in the crease.
🖌 Tapered Blending Brush – Ideal for adding depth to the outer corners.
🖌 Flat Packing Brush – Best for intensifying color on the lid.
🖌 Small Detail Brush – Helps with precise blending along the lash line or inner corners.
Step 4: Blending Hacks for a Flawless Finish
✨ Use circular motions to seamlessly merge colors together.
✨ Hold your brush near the tip for a softer, more controlled application.
✨ Fix harsh lines with a skin-tone eyeshadow or translucent powder.
✨ Dab a bit of setting spray onto your brush before applying shimmer shades for an extra-pigmented, blended glow.
With these eyeshadow blending secrets, you’ll never have to worry about patchy or uneven eye makeup again. Practice makes perfect, so keep experimenting and have fun creating stunning, seamless eye looks that truly pop! 💖✨
Hack #4: Quick and Easy False Lash Application
Quick and Easy False Lash Application – Get the Glam Look in Minutes!
Ever wonder how beauty gurus make false lash application look effortless? The truth is, applying falsies doesn’t have to be a struggle! With a few simple tricks, you can achieve a flawless, natural-looking lash enhancement in no time. Whether you’re going for subtle volume or full-on glam, the right technique makes all the difference.

Step 1: Choose the Right Lashes for Your Eye Shape
✔ Almond Eyes? Most lash styles work, but wispy, cat-eye lashes enhance your shape beautifully.
✔ Round Eyes? Opt for flared lashes to elongate your eye shape.
✔ Hooded Eyes? Go for lashes with a lifted, curlier style to open up your eyes.
✔ Monolids? A multi-layered, fluttery lash creates gorgeous dimension.
Step 2: Trim Your Lashes for a Perfect Fit
✔ Place the lash strip against your natural lash line and see where it extends past your eye.
✔ Trim from the outer edge (never the inner corner) to keep the natural shape intact.
✔ If the lashes feel stiff, bend them into a slight curve to match your eye shape better.
Step 3: Apply the Glue Like a Pro
✔ Less is more! Apply a thin, even layer of lash adhesive along the band.
✔ Let it sit for 30 seconds—this allows the glue to become tacky, preventing sliding during application.
✔ For extra hold, apply a tiny bit of glue to the inner and outer corners where lifting tends to happen.
Step 4: The Easiest Way to Apply Your Lashes
✔ Use tweezers or a lash applicator to place the lash strip as close to your natural lash line as possible.
✔ Start from the center, then secure the inner and outer corners.
✔ Gently press the falsies and your natural lashes together for a seamless blend.
Step 5: Blend for a Natural Finish
✨ Apply mascara to your natural lashes before applying falsies for a seamless blend.
✨ If needed, tightline your upper lash line with eyeliner to conceal any gaps.
✨ Pinch your natural and false lashes together using a lash curler for a lifted, natural effect.
With these quick and easy steps, you’ll be applying false lashes like a pro in no time! So go ahead—elevate your eye game, boost your confidence, and bat those gorgeous lashes effortlessly! 💖✨
Hack #5: The Magic of Highlighter
The Magic of Highlighter – Instantly Brighten & Lift Your Eyes
One of the best-kept secrets in eye makeup is the transformative power of highlighter! With just a few dabs of glow, you can instantly brighten, lift, and enhance your eyes, making them look more awake, youthful, and radiant.
Where to Apply Highlighter for Stunning Eyes
✔ Inner Corners of the Eyes – A touch of highlighter here brightens your gaze, making your eyes look more open and refreshed.
✔ Brow Bone (Just Below the Arch) – Applying highlighter under the brows lifts and defines your eye shape, creating a naturally sculpted look.
✔ Center of the Eyelid – A light shimmer on the lid adds dimension and enhances your eye shape, making them pop.
✔ Lower Lash Line & Tear Duct Area – A tiny dab of shimmer adds an enchanting sparkle, perfect for a soft, glowing effect.
How to Apply for a Seamless Glow
✨ Use a soft brush or your fingertip to gently tap the highlighter onto your skin—a little goes a long way!
✨ Blend well so it looks natural and not overly frosty.
✨ For a subtle glow, use a finely milled powder or liquid highlighter—cream formulas work best for a dewy, fresh look.
Choosing the Perfect Highlighter Shade
✔ For Fair to Light Skin Tones: Try champagne, soft pink, or pearly white highlighters for a natural radiance.
✔ For Medium to Olive Skin Tones: Golden hues or rose gold shades bring out warmth and a sun-kissed glow.
✔ For Deep Skin Tones: Opt for rich golds, bronze, or copper tones to enhance your natural warmth beautifully.
Pro Tip: Elevate Your Look from Day to Night
💡 Daytime Look: Keep it soft with a champagne or sheer pearl shade for a fresh, natural glow.
💡 Evening Glam: Go for rose gold, golden shimmer, or slightly glittery highlighters to add drama and dimension to your eyes.
Including highlighter in your eye makeup routine is a simple yet game-changing hack that takes your look from ordinary to mesmerizing in seconds! Try it, and let your eyes glow with confidence! ✨💖
Hack #6: Reviving Tired Eyes
Reviving Tired Eyes – Instantly Look Refreshed & Awake
Late nights, long days, or just feeling a little off? Tired eyes don’t have to give you away! With a few simple tricks, you can brighten, de-puff, and refresh your eyes, making them look vibrant and well-rested—even when you’re running on little sleep.
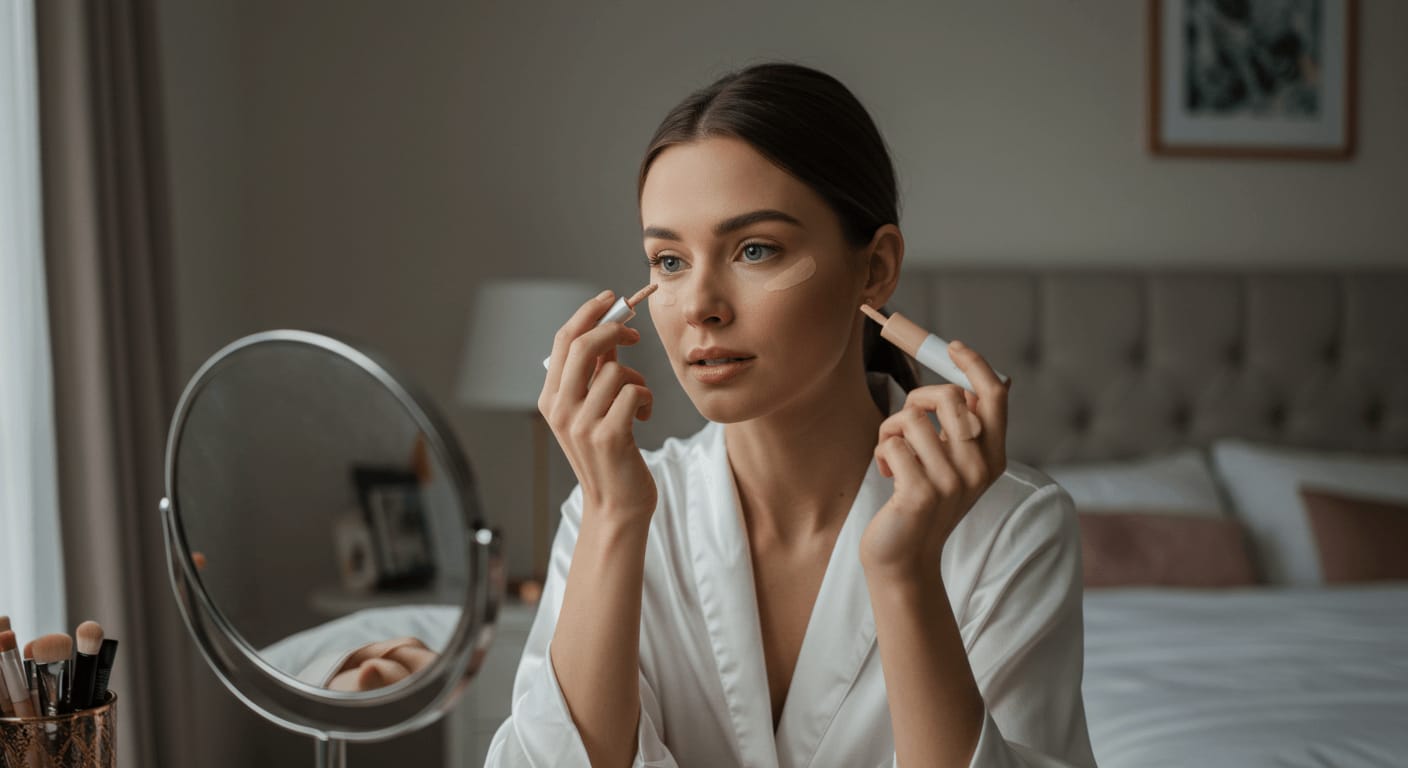
Step 1: Conceal Dark Circles Like a Pro
✔ Choose the Right Concealer: A lightweight, hydrating formula that matches your skin tone (or is one shade lighter) works best.
✔ Apply in a Triangle Shape: Dab concealer in an upside-down triangle under your eyes—this lifts and brightens the area.
✔ Blend Well: Use a damp makeup sponge or your fingertip to gently tap and blend, avoiding harsh lines.
✔ Set with a Light Powder: To prevent creasing, dust on a tiny bit of translucent setting powder.
Step 2: Brighten & Open Up Your Eyes
✨ Inner Corner Highlight: A small touch of champagne or pearl-toned highlighter in the inner corners instantly brightens your look.
✨ Brow Bone Lift: Applying highlighter just beneath your brow arch subtly lifts the eyes for a more awake appearance.
Step 3: Reduce Puffiness & Refresh Your Eyes
✔ Cold Compress Hack: Place chilled spoons or a cool compress over your eyelids for a quick de-puffing effect.
✔ Cucumber or Green Tea Bags: Lay them over your eyes for 10 minutes to reduce inflammation and hydrate the skin.
✔ Massage & Depuff: Use your ring finger to gently tap along your under-eye area, helping to improve circulation and drain excess fluid.
Bonus Tips for Revived, Brighter Eyes
💦 Stay Hydrated – Dehydration can make dark circles and puffiness worse, so drink plenty of water.
💤 Get Enough Rest – Nothing beats a good night’s sleep for fresh, youthful-looking eyes.
👁 Use a White or Nude Eyeliner – Applying a nude or white liner on your waterline creates the illusion of bigger, more awake eyes.
With these quick and easy tricks, you can erase signs of fatigue and keep your eyes looking refreshed and radiant all day long! ✨👁💖
Summing up
Upon reflecting on the 7 eye makeup hacks we’ve explored, it’s clear that enhancing your eyes can be both fun and straightforward. These tips empower you to experiment with different looks, giving your makeup routine a fresh spin. By incorporating simple techniques like tightlining your eyes or using pastel shades, you can achieve stunning results that will make your eyes pop and draw attention. Embrace these hacks, and you’ll find that creating beautiful eye makeup can be an enjoyable part of your daily routine.
Additionally, for those seeking more inspiration, you can check out 10+ Easy Natural Eye Makeup Looks for a Subtle Yet …. Each of these looks can complement the hacks we’ve discussed, allowing you to feel confident and beautiful every day. Your eyes are the windows to your soul, so why not make them shine with the techniques and tips you now have at your fingertips? Happy makeup applying!
FAQ:
Q: What are the best products to use for achieving stunning eye makeup?
A: To achieve beautiful eye makeup, start with a quality primer to create a smooth base. Use pigmented eyeshadows that blend easily and a waterproof eyeliner for long-lasting results. A good mascara is imperative for adding volume and length to lashes. Also, consider a brow gel to define your eyebrows, which frames your eyes beautifully.
Q: How can I make my eyes appear larger with makeup?
A: To make your eyes appear larger, apply a light, shimmery eyeshadow on your eyelids and a white or nude eyeliner on the waterline. You can also wing your eyeliner slightly and focus on curling your eyelashes for added lift. Additionally, place a darker shade in the outer corners of your eyes to create dimension.
Q: What techniques can I use to create a smoky eye effect?
A: Achieving a smoky eye involves using three to four shades of eyeshadow. Start by applying a light base color over the entire lid, followed by a medium shade in the crease. Use a dark shade close to the lash line and blend it outwards and upwards. Finish with a darker eyeliner along the waterline and buff it out for a softer look. Don’t forget to set the makeup with a setting spray for longevity.
Q: How do I choose the right eyeliner for my makeup look?
A: Choosing the right eyeliner depends on the effect you want to achieve. For a defined look, go for a gel or liquid liner. For a softer, smudged effect, pencil liners work well. If you want to try something unique, colored eyeliners can add a pop of fun. Ensure the eyeliner is waterproof if you’re expecting long wear, especially in humid conditions.
Q: What are some tips for blending eyeshadow seamlessly?
A: Blending eyeshadow seamlessly involves using good tools and techniques. Start with a blending brush and use circular motions to mix colors in the crease. Always begin with a transition shade to smoothen the edges. It also helps to build color gradually—start with a light application and layer up. Finally, use a clean brush to soften any harsh lines between colors for a polished look.


0 Comments